
Configuring your ConteraIP Camera:
- On the ConteraIP Camera, ensure an SD Card has been inserted into the camera.
- Access the cameras web ui using its IP Address.
- Navigate to the Event Tab and scroll down to the SD Card section.
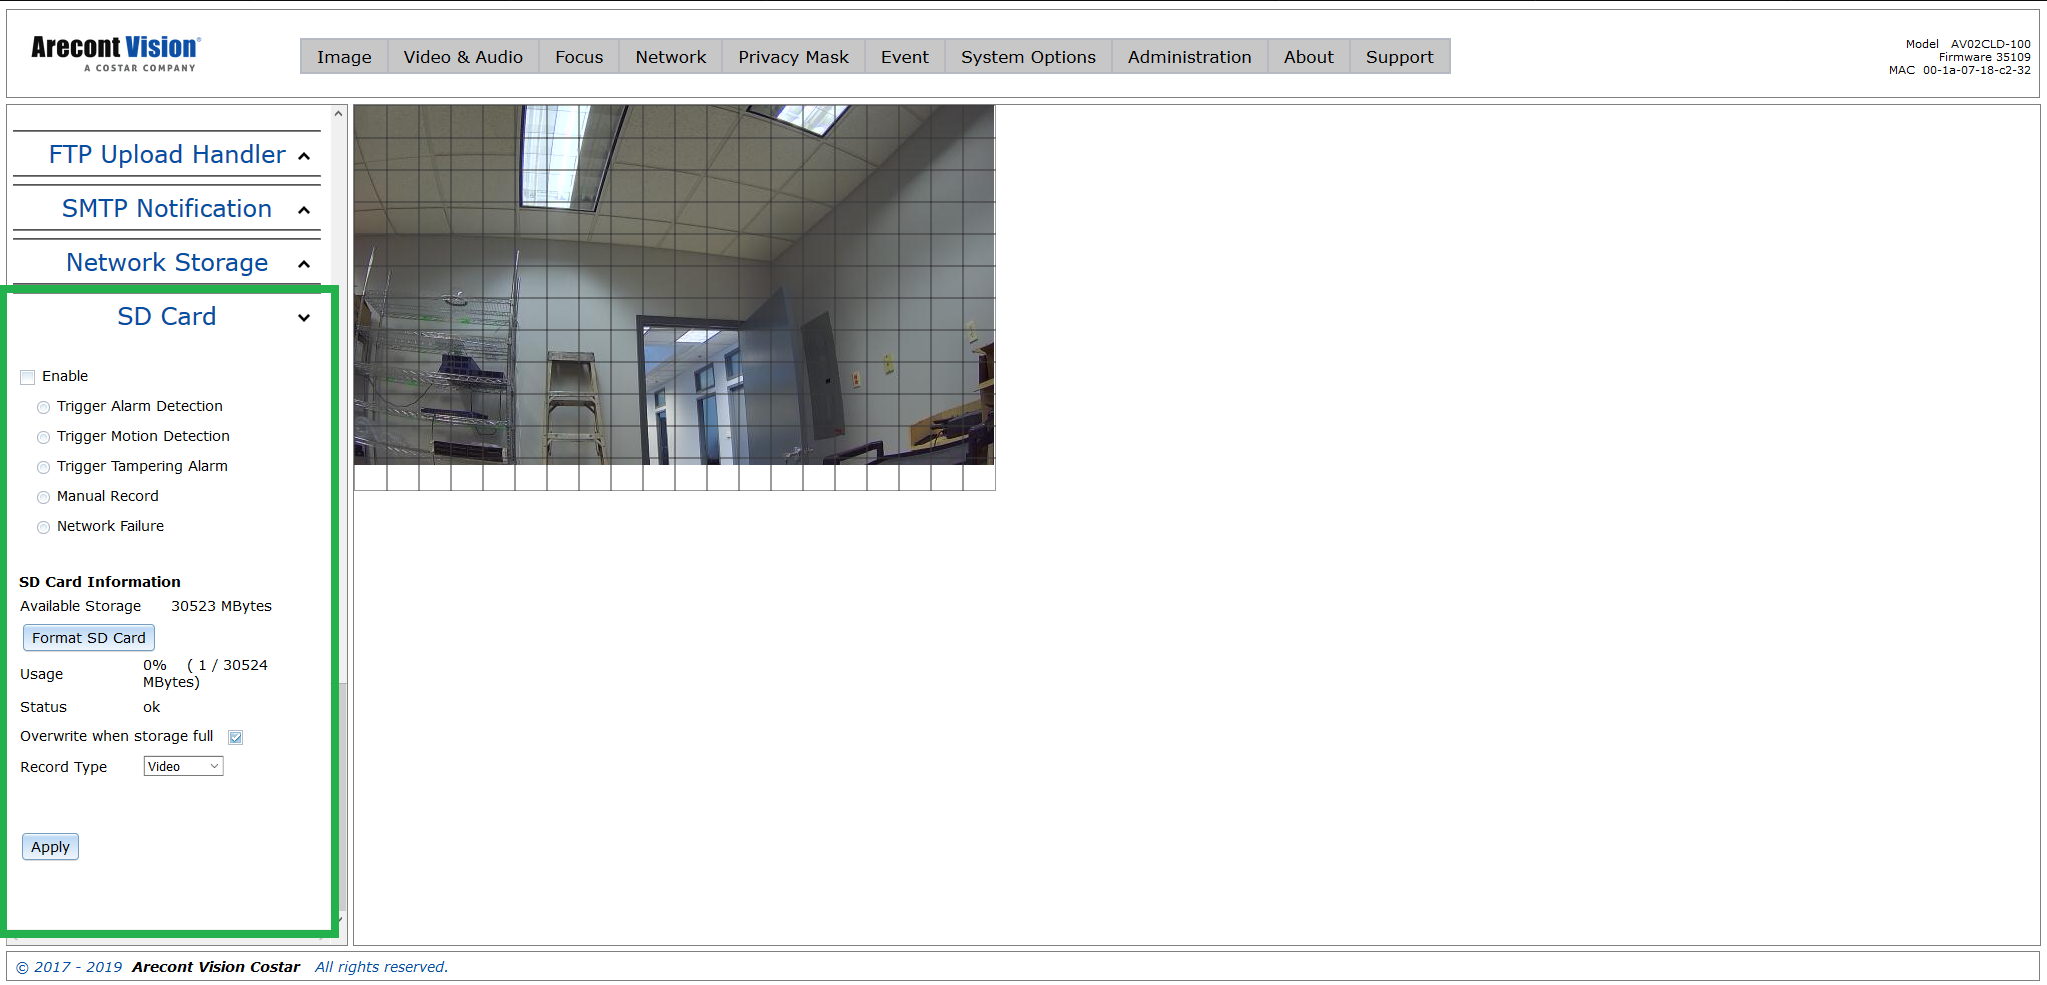
- If your SD card is recognized, it will show you the available space and Status ok. If you wish to format the card, do this now before use by click the Format SD Card button. Warning, if you already have video data recorded to the SD Card, do NOT click the Format SD Card Button.
- Next, tick the checkbox next to Enable and select what you will use to trigger recording. For this writeup, we will focus on motion detection as an example.
- Once you select Trigger Motion Detection you will notice more setting appear under the record type selection.
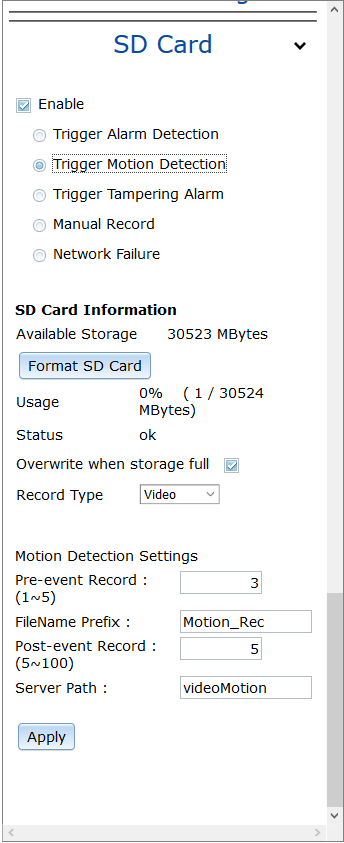
- Use the motion detection settings to define a pre-event record, filename Prefix, post-event record, and server path on the card.
- Once complete, click on the apply button.
- Now navigate to the Network tab and scroll down to the FTP option and enable it.
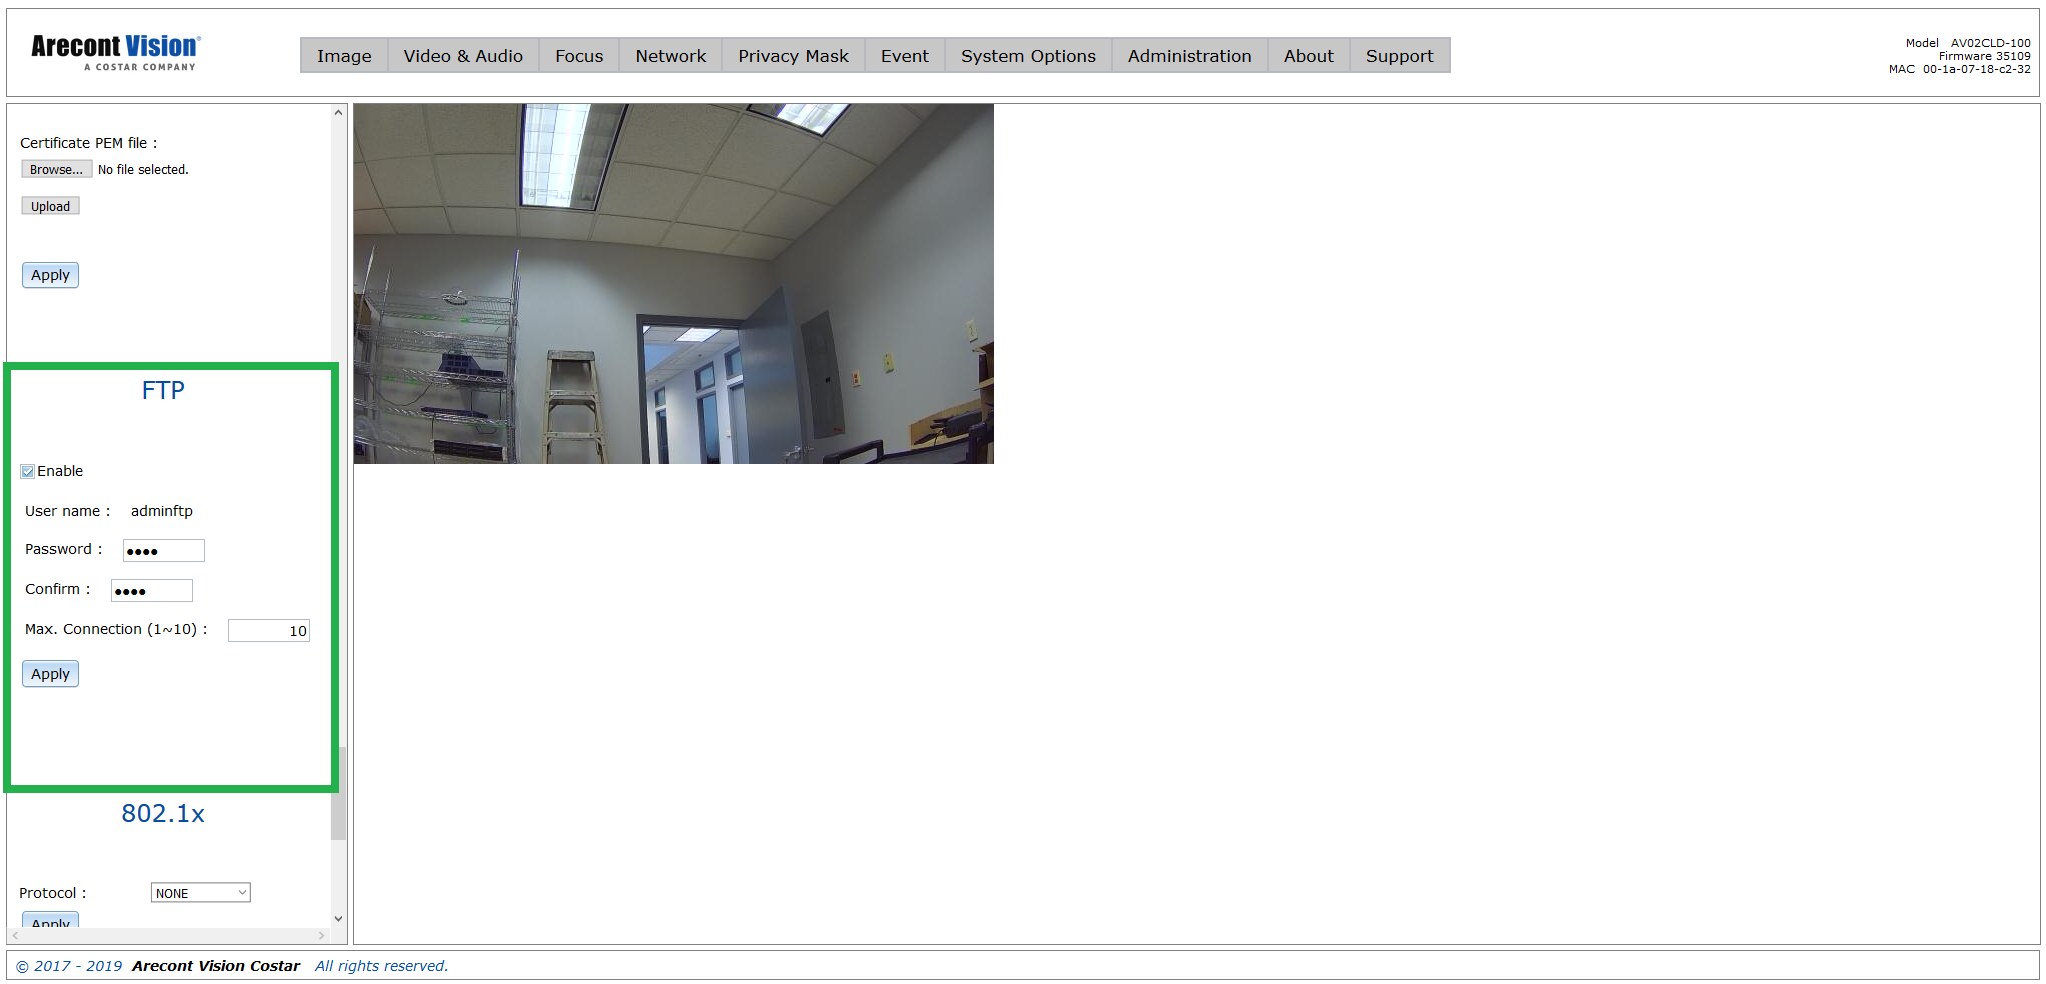
- The username is set for you: adminftp.
- The password by default is 9999.
- You can also set the maximum allowed client connections from 1 to 10. The default is 10.
- Once completed, click apply to activate.
Configuring FileZilla Client:
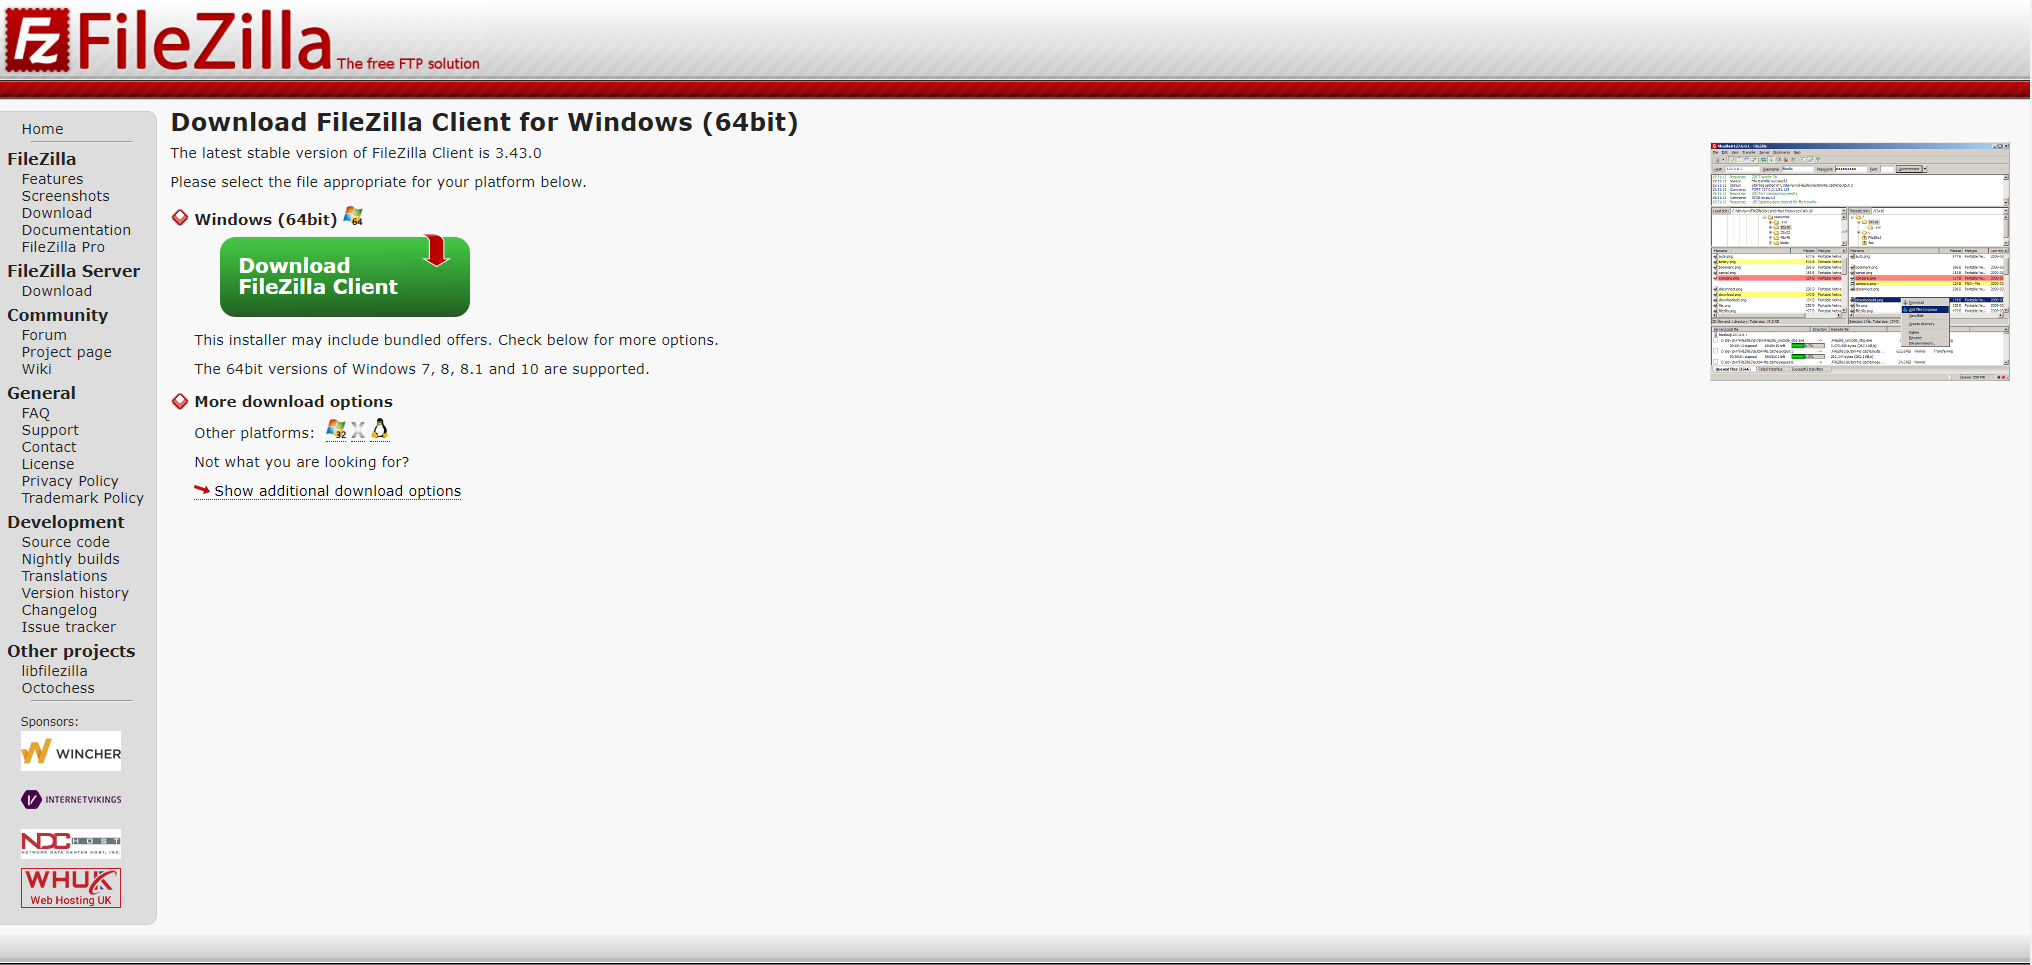
- Download and install FileZilla Client from the FileZilla projects website: https://filezilla-project.org
- Install the FileZilla Client.
- Launch the FileZilla Client.
- Enter the IP Address of the ConteraIP camera in the entry box next to Host.
- Enter the username: adminftp
- Enter the password: 9999
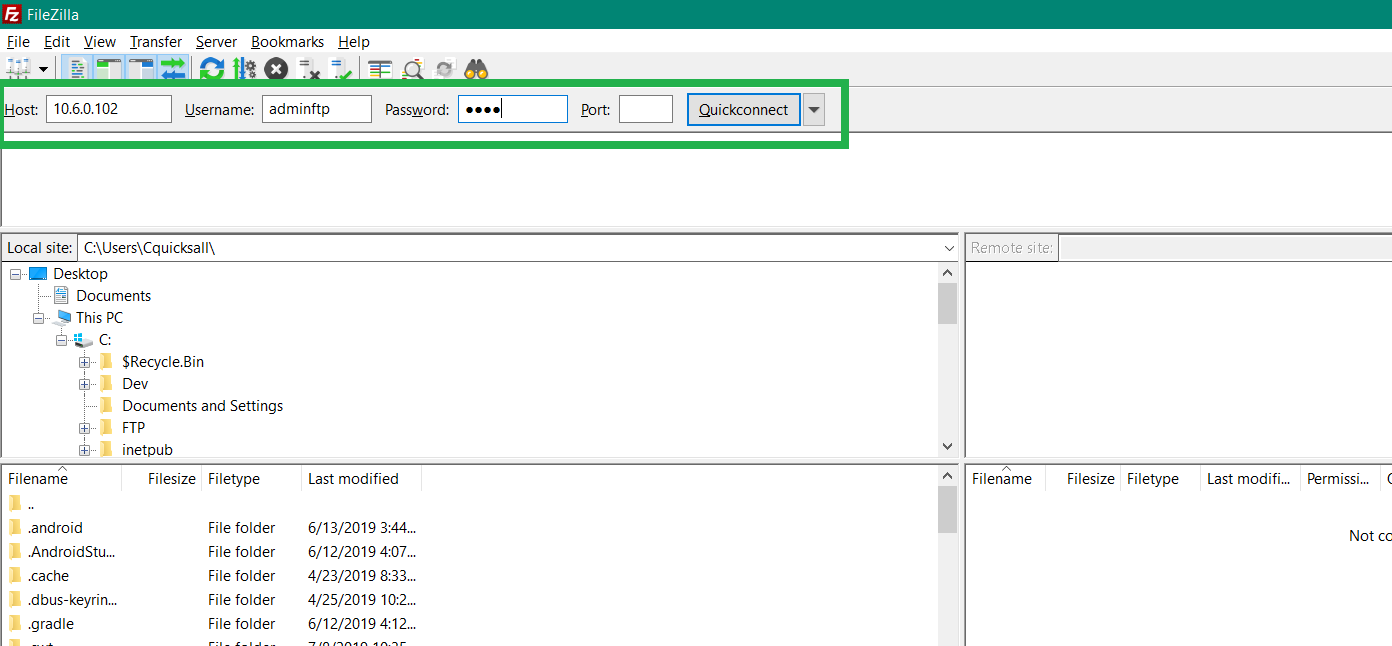
- Click on the Quickconnect button. If your camera is not currently running SSL/TLS security, you will see an insecure FTP connection warning. If this is ok, click the checkbox next to Always allow then click the OK button. If this is not OK, please set up security for your camera using the camera installation manual.

- Once you click ok, you should see the camera directory displayed on the right side of the application under remote site.
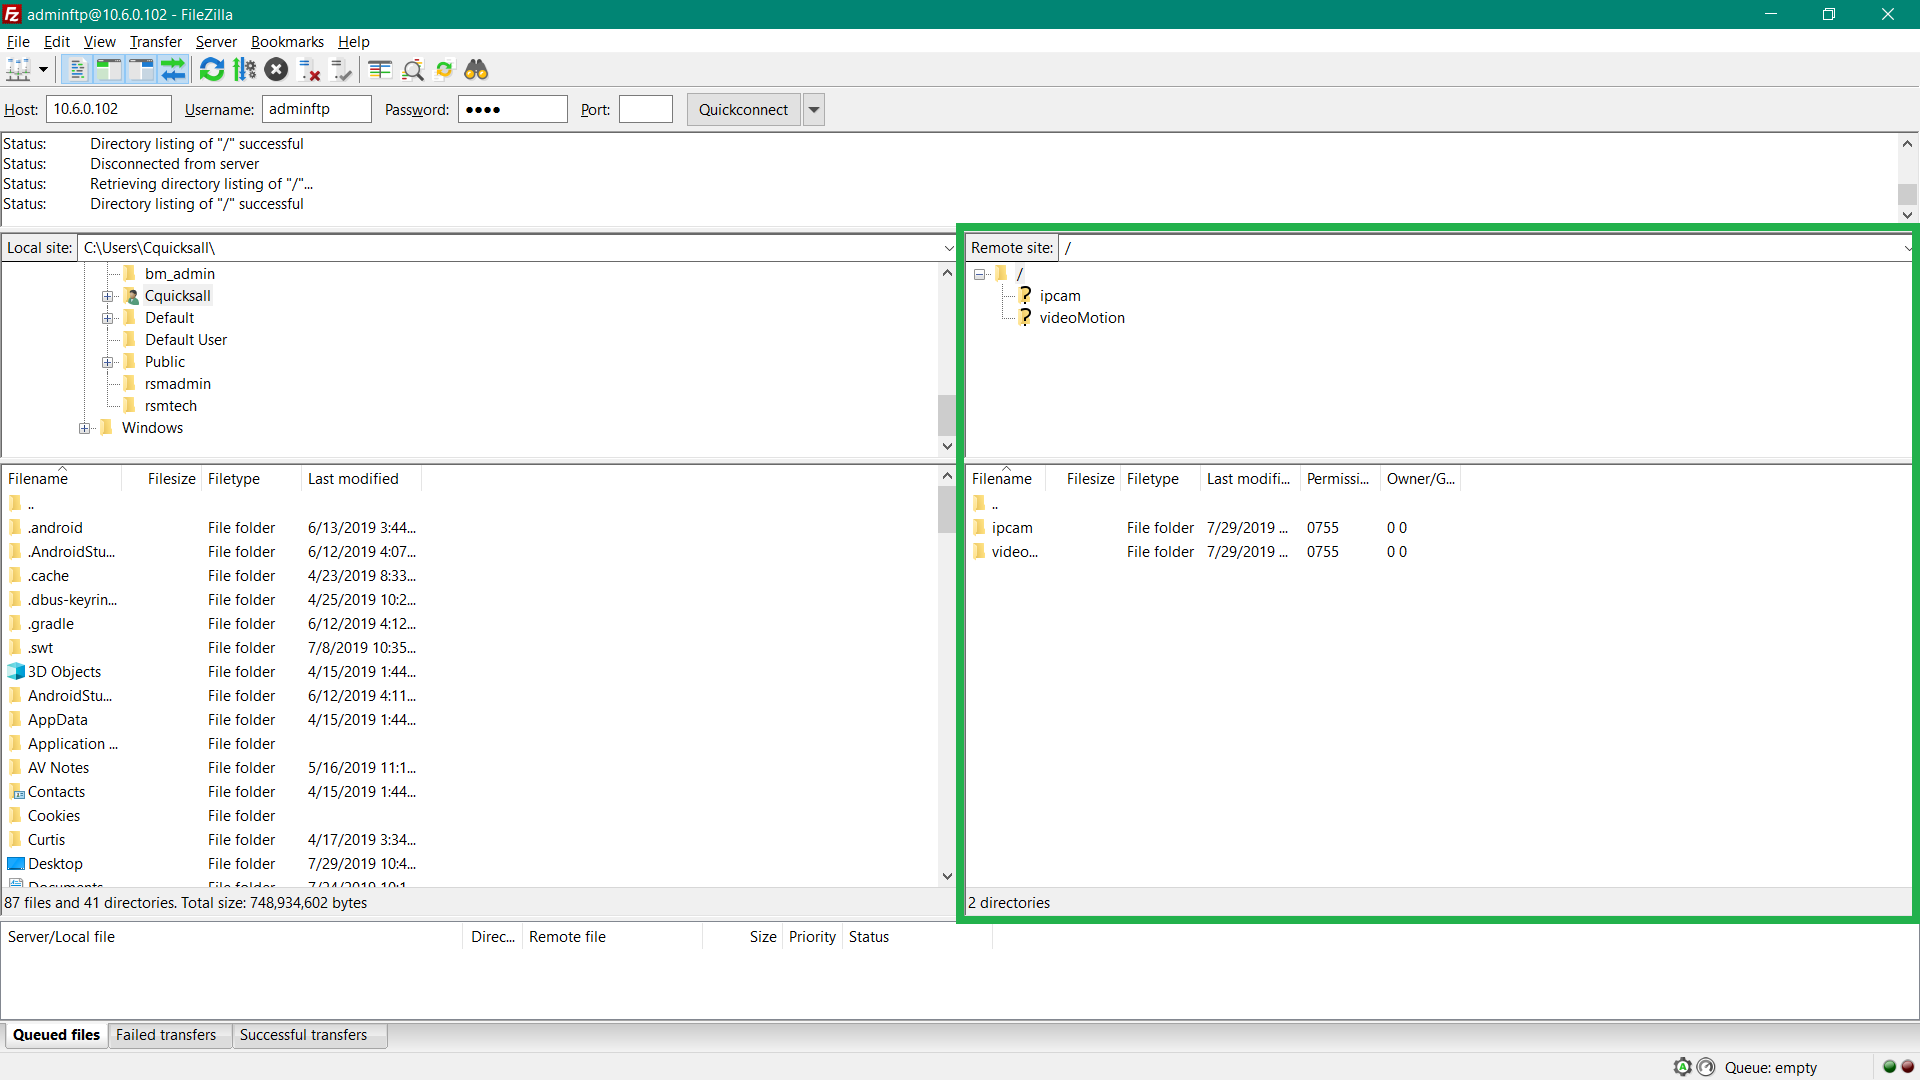
- Double click on the videoMotion folder. You will see folders coded by date and time. Double click on the folder that contains the video you wish to download.
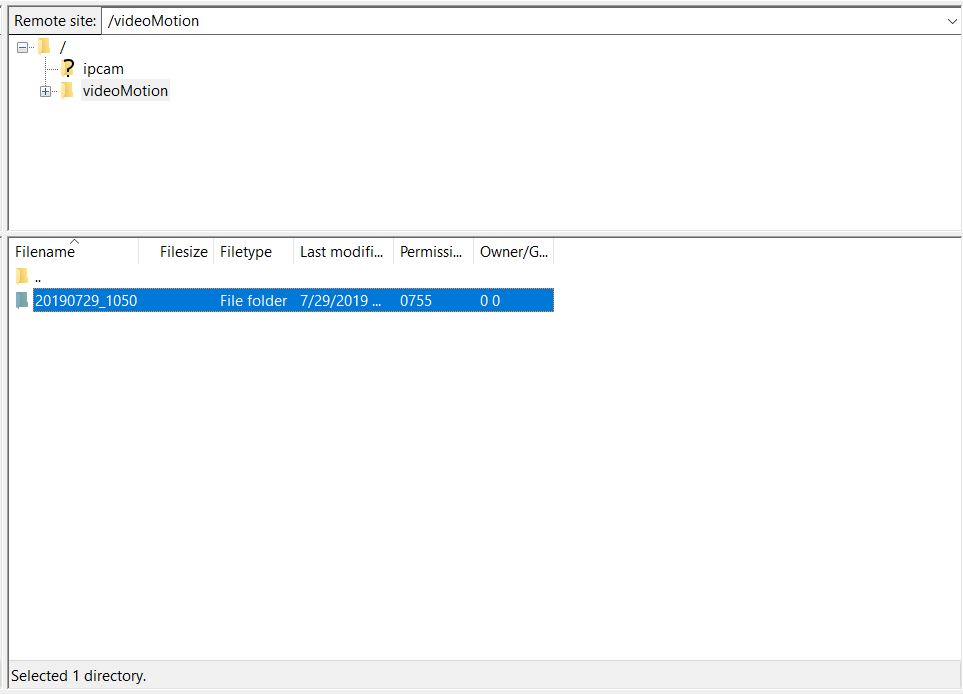
- Inside the folder, you will see the video files recorded to your SD card. To download, click on the file you want to download. The download will start.
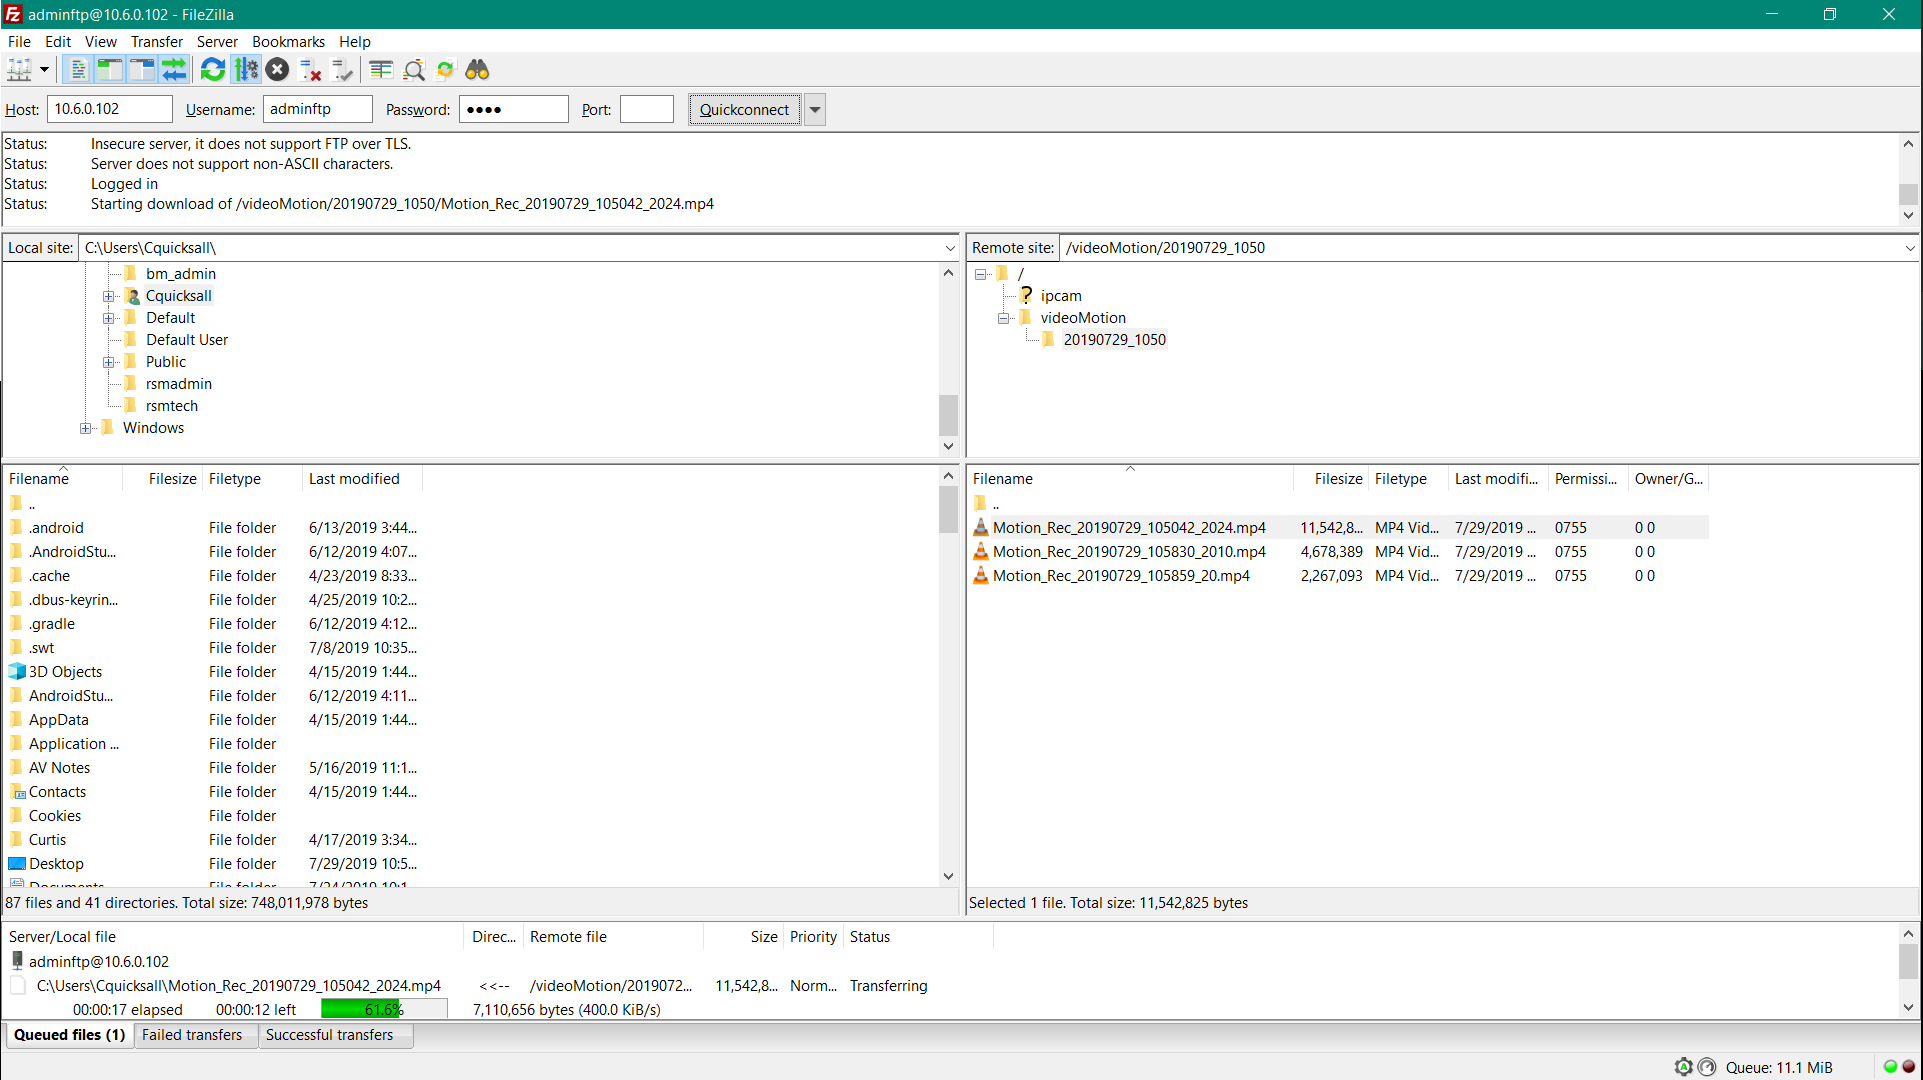
- You can also select multiple files and download them all.
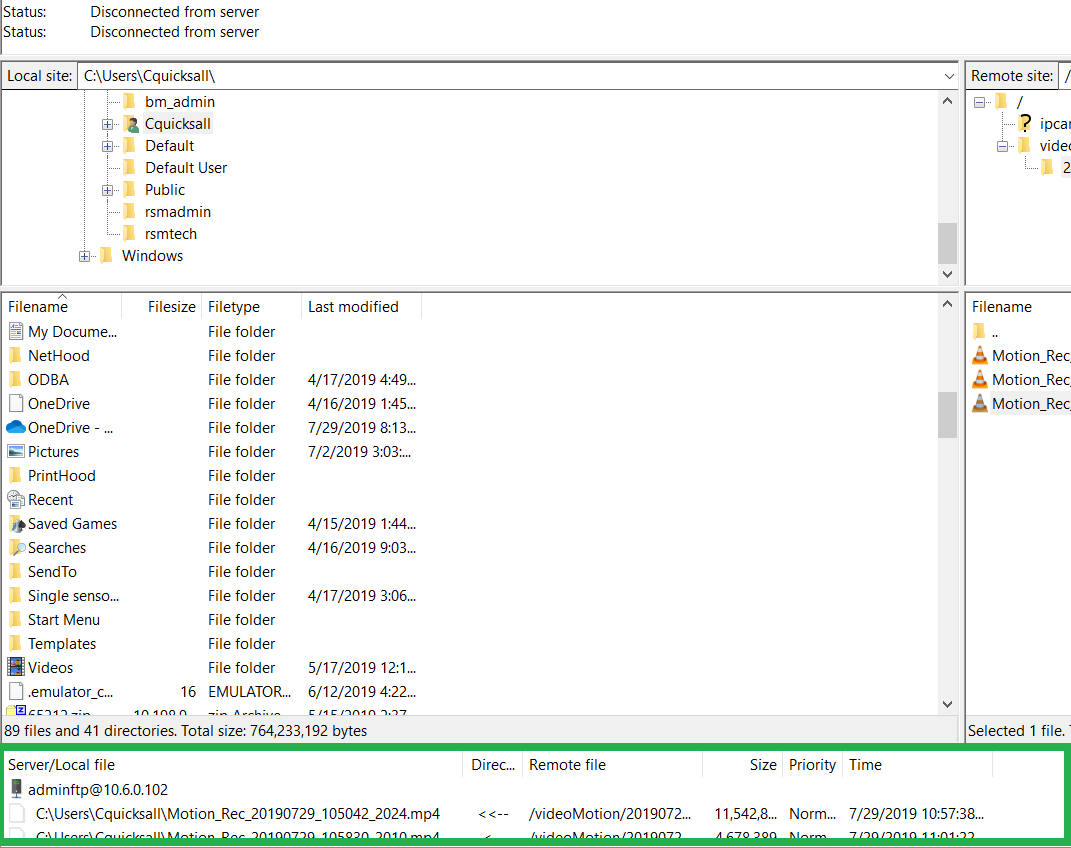
- You can see the location of the files downloaded by checking the status near the bottom.
Comments
0 comments
Please sign in to leave a comment.